Many WordPress errors are warnings or notices that something is wrong with your site. However, the Sorry You Are Not Allowed to Access This Page notice is actually looking to help you.
There are many causes of the error, and most require a few basic skills to solve. Once you’ve narrowed down the issue and resolved it, you’ll be back up and running in no time.
This post will offer seven ways to fix the Sorry You Are Not Allowed to Access This Page error. Before this, lets give you some more information on what the error is.
How to Understand the Sorry You Are Not Allowed to Access This Page Error
Unlike many other WordPress errors, the Sorry You Are Not Allowed to Access This Page notice isn’t warning you of an issue with your site.
In fact, for the end user, they may not see any changes to their experience at all. However, you’ll have no access to your site until it’s resolved.
The issue is related to a configuration error of some sort. As you can tell from the notice, user permissions are often the main culprit. Given this, you’ll usually find this error crops up after making changes to the back end of your site. Updates can also be at fault.
The Tools You’ll Need Before Tackling the Sorry You Are Not Allowed to Access This Page Error
Before you start to fix the Sorry You Are Not Allowed to Access This Page error, there are a few tools and elements you need to have to hand. Here’s a quick rundown of what you need:
- Administrator access to your server, at least to your root directory.
- A Secure File Transfer Protocol (SFTP) client, such as Cyberduck or FileZilla.
- You may also need to resharpen your FTP skills before starting.
- A text or code editor that will let you work with your site’s files. Usually, your default text editor is fine, but a code editor such as Atom or Notepad++ is a better option.
Once you have these elements in place, it’s time to crack your knuckles and dive in!
7 Ways to Fix the Sorry You Are Not Allowed to Access This Page Error
In the next section, we’ll look at seven different ways to fix the Sorry You Are Not Allowed to Access This Page error. Here’s a quick breakdown of the methods we’ll cover:
- Check your WordPress error log.
- Ensure your file permissions are correct.
- Make sure your wp-config.php file hasn’t been changed.
- Disable your plugins to check whether they are at fault.
- Activate a default theme to check for issues.
- Create a new .htaccess file.
- Check over your user roles.
There’s a lot to get through, so let’s get started!
1. Check Your WordPress Error Log For Clues
The first step is to check your error log. Quite often, you’ll find a pointer to help you choose one of the other methods below.
Some hosts give you access to the WordPress error log through a dashboard. If not, there’s a straightforward solution. First, access your site through SFTP, using the credentials found in your hosting control panel. Your site will usually be within the public_html or www directory. However, it could also be in a folder named after your site.
Once you’re in, you’ll see a list of your core WordPress files:
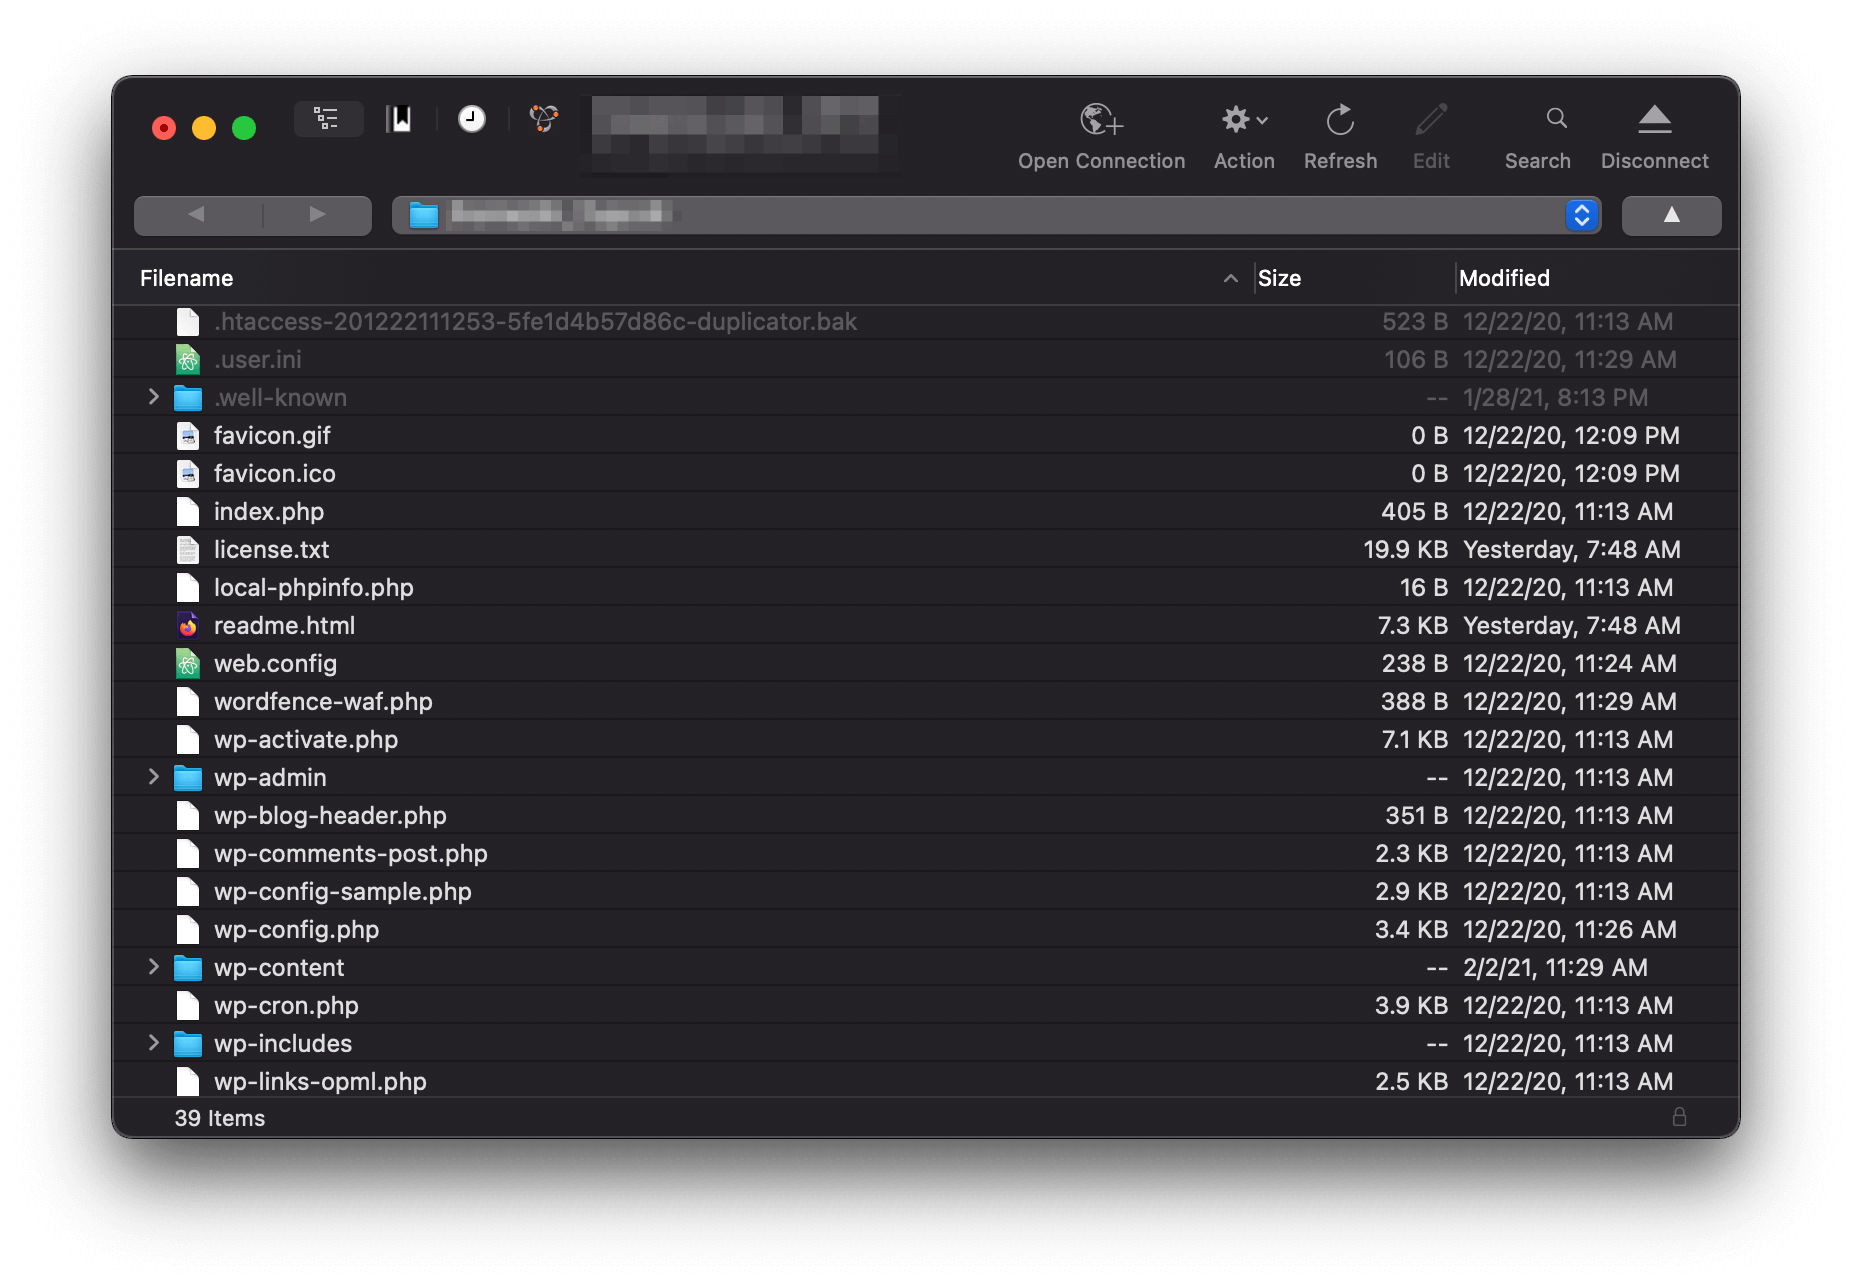
From here, look for a debug.log file. It could also be in the wp-content folder. Unfortunately, if it’s not there you will have to run through the other nine steps below. While you could enable debug mode and retest, you’ll use the same methods to fix the issue regardless.
However, if you do find it, open it up and take a look:

While you may not understand much of the content, see if there is anything relating to recent actions you’ve made. If so, you can skip to one of the other relevant methods we’ll talk about next.
2. Ensure Your File Permissions Are Correct
While we’re using SFTP, we can check some other aspects of your site under the hood. File permissions are going to be a key cause of the Sorry You Are Not Allowed to Access This Page error, so it makes sense it check this first.
Within your SFTP client, select the wp-content, wp-includes, and wp-admin folder. Next, right-click and find the File Permissions setting. FileZilla has a clear option for this, but Cyberduck hides the settings within the Info panel:
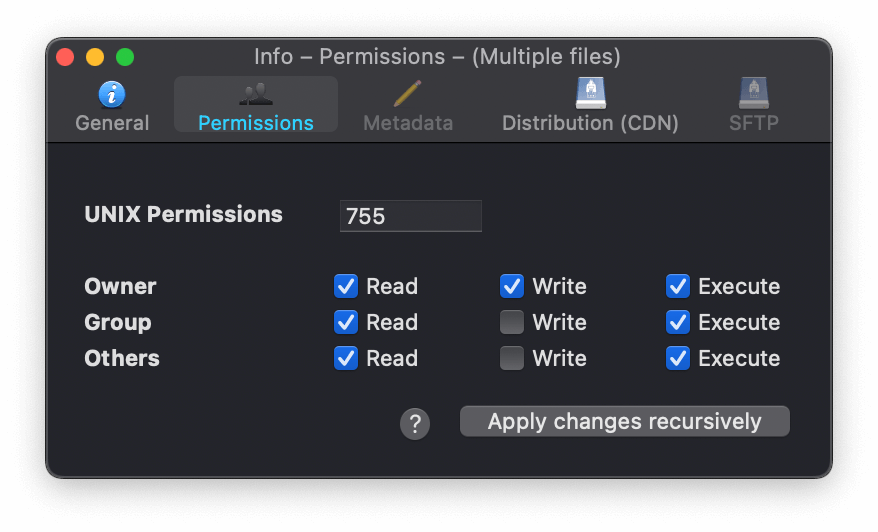
In the dialog box, make sure the permissions where possible are set as follows:
- The Numeric Value is set to 755.
- You’ve checked Apply to directories only.
- Recurse into subdirectories is checked.
Once you’ve done this, accept your changes, select all of the other files within your site’s directory, and enter the File Permissions dialog again:
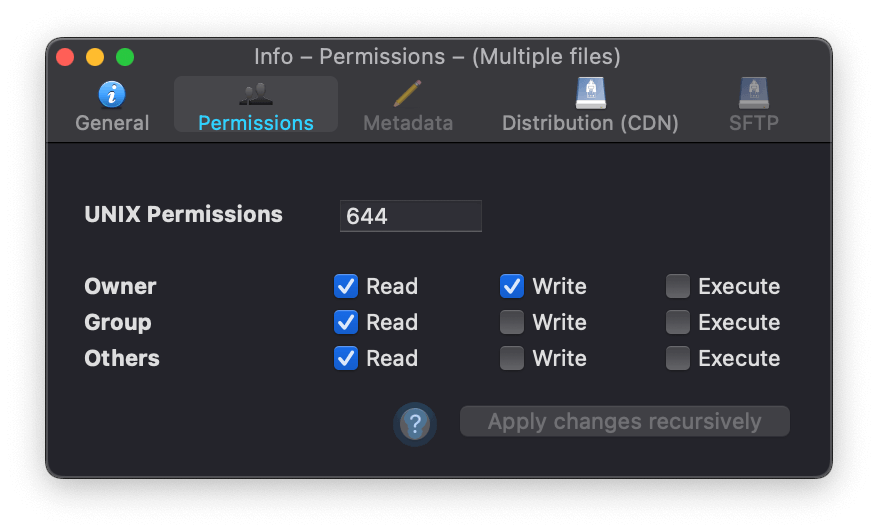
This time, check the Apply to files only and Recurse into subdirectories boxes, and set the Numeric Value to 644.
The meanings behind these numbers and options are beyond the scope of this article. However, it ensures that the right file permissions are set to allow access to your site.
At this point, check whether the error has disappeared. If not, head to the next method.
3. Make Sure Your wp-config.php File Is Free From Errors
In a nutshell, your wp-config.php file contains all of the configuration settings for your WordPress website. As such, you’ll want to make sure it’s not been compromised or changed.
From within your SFTP client, right-click the file and open it within your text editor. Next, scan the file for anything that sticks out.
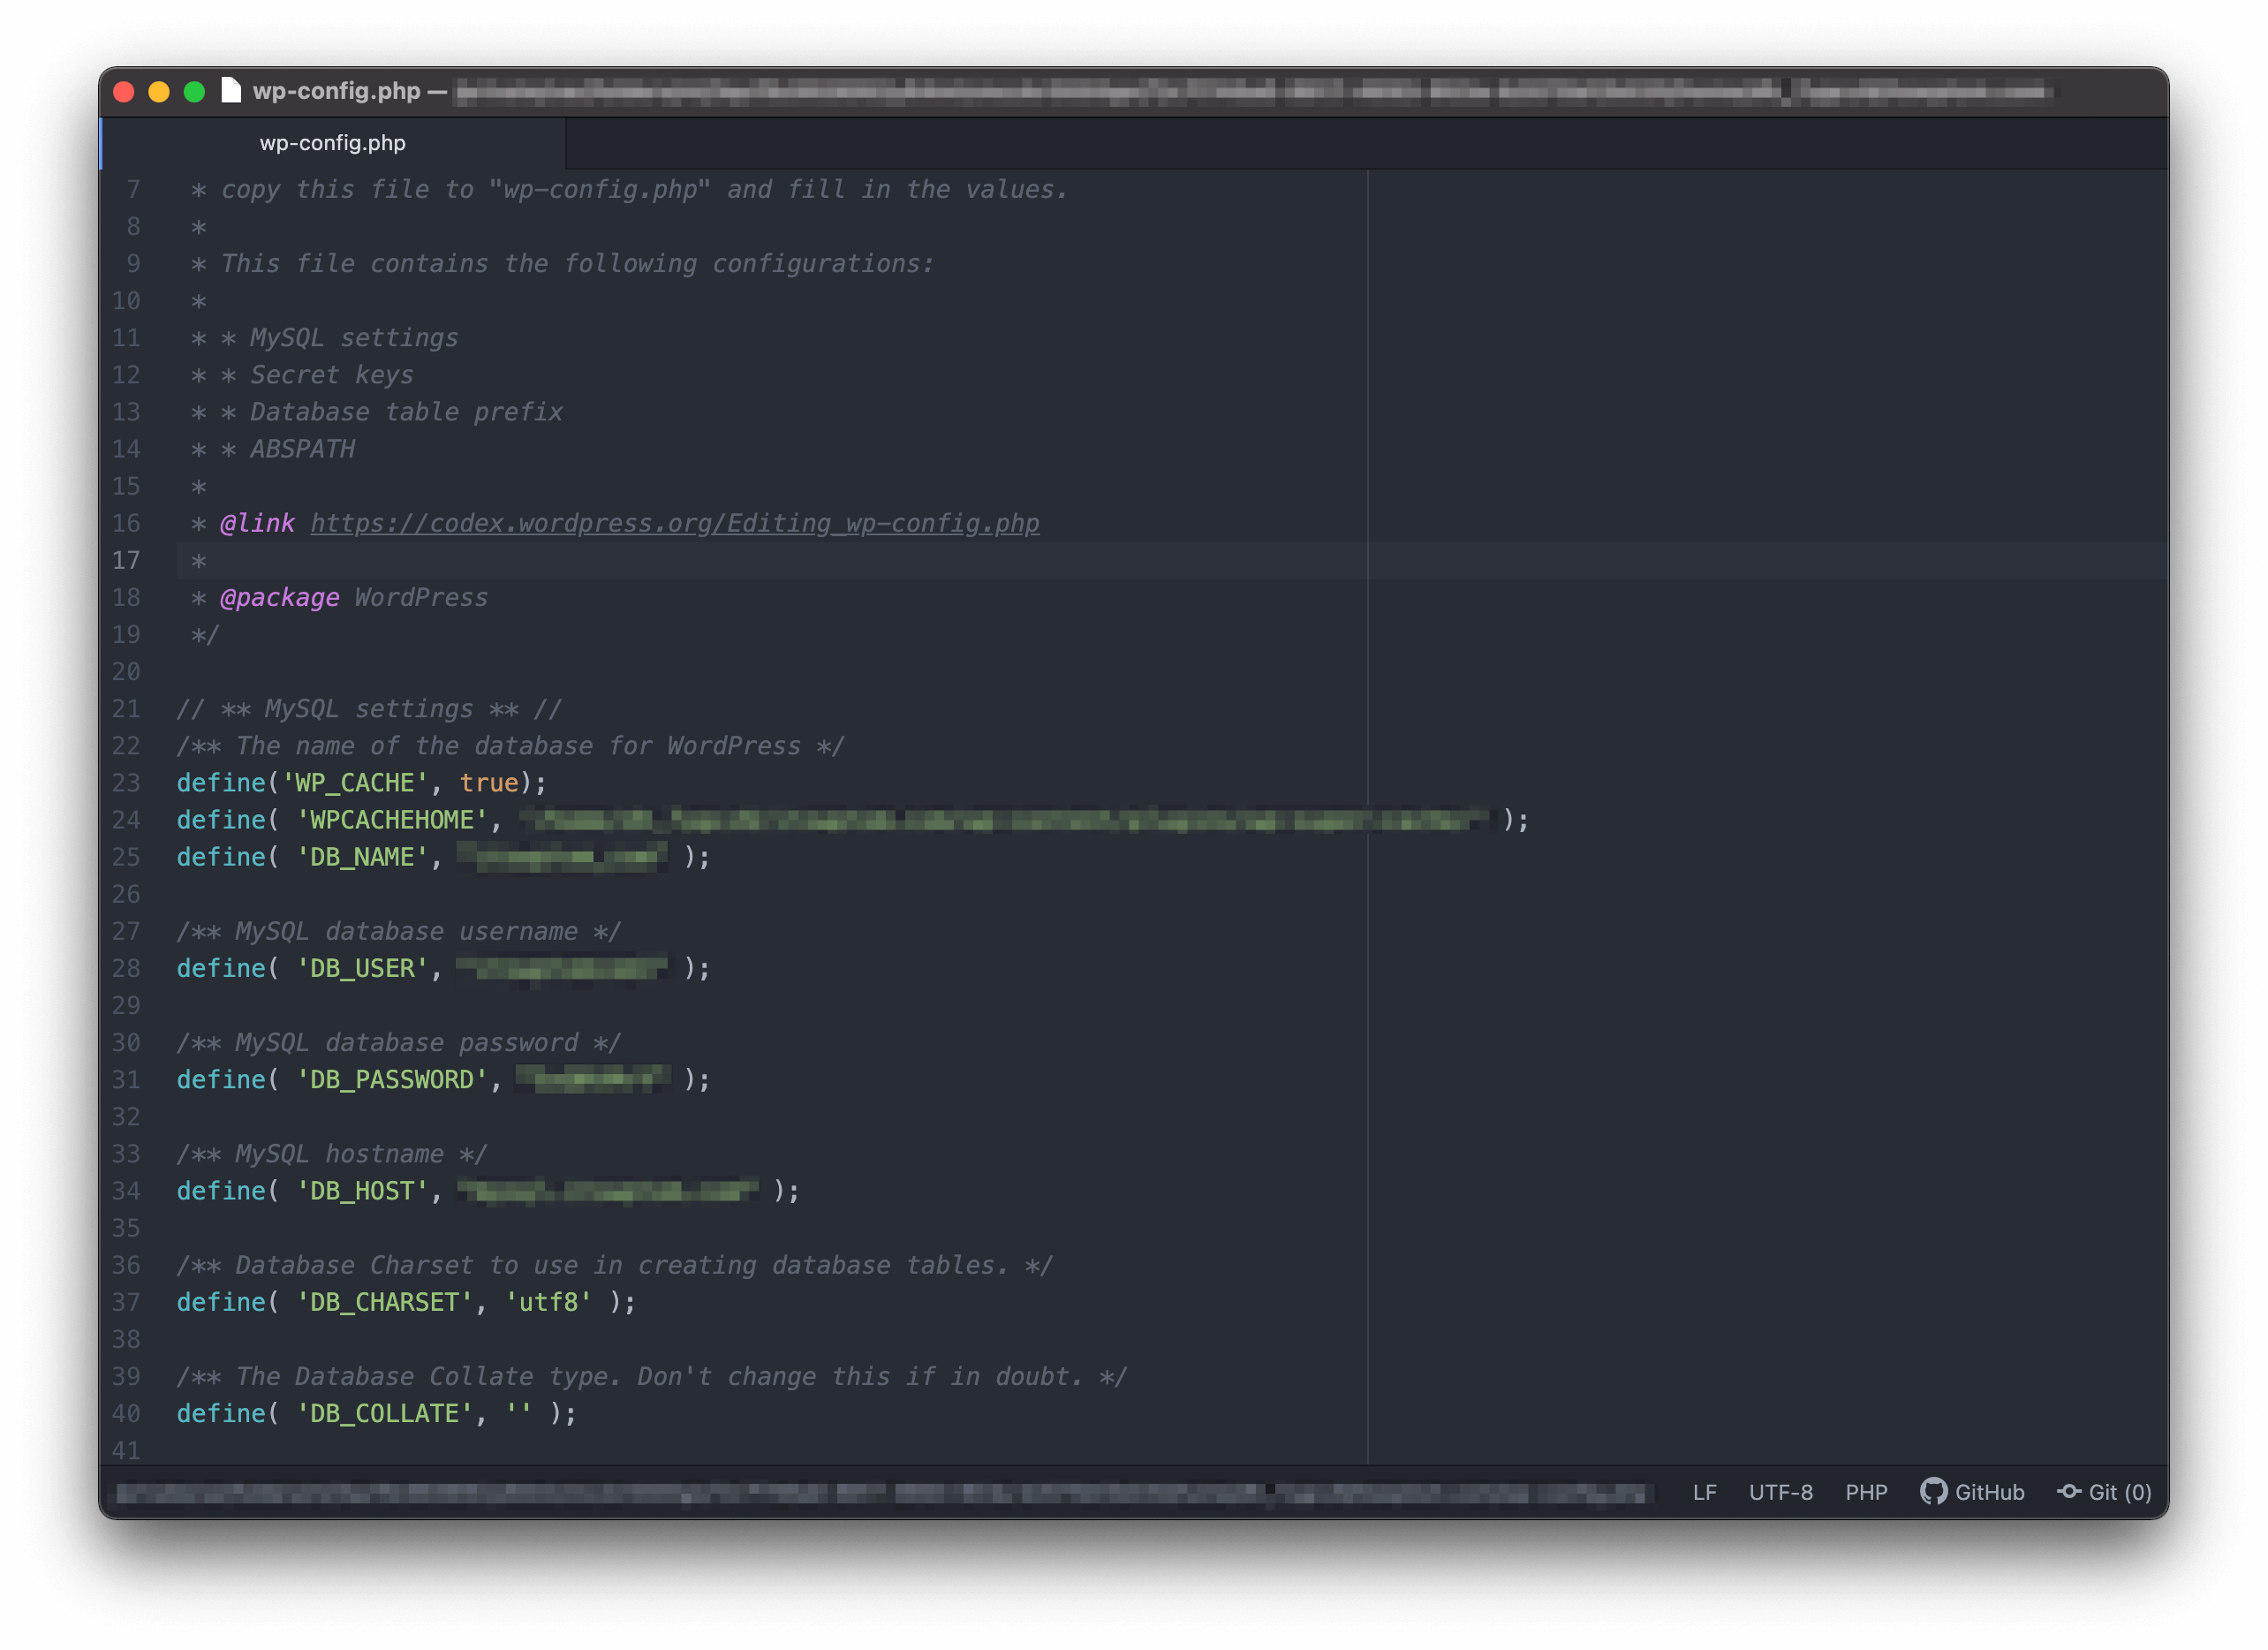
You may not know what you’re looking at, in which case, unless you see something strange, it’s likely fine. File integrity monitoring will be a good addition to your security provision for the future.
However, you’ll want to note one setting in this file for later. Scroll down the wp-config.php file until you find the $table_prefix setting. Here, note down the value – often it’s wp_:

When we look at using the phpMyAdmin tool in a later section, we’ll want to compare this value to data contained there.
4. Check Whether Your Plugins Are At Fault
Given the error we’re dealing with is based on user permission issues, it makes sense to also check over your plugins and themes. Recent updates could have changed your permissions.
Again, we’ll need to be within your site’s directory using SFTP. Once you’re in, head to the wp-content folder, and look for the plugins directory:
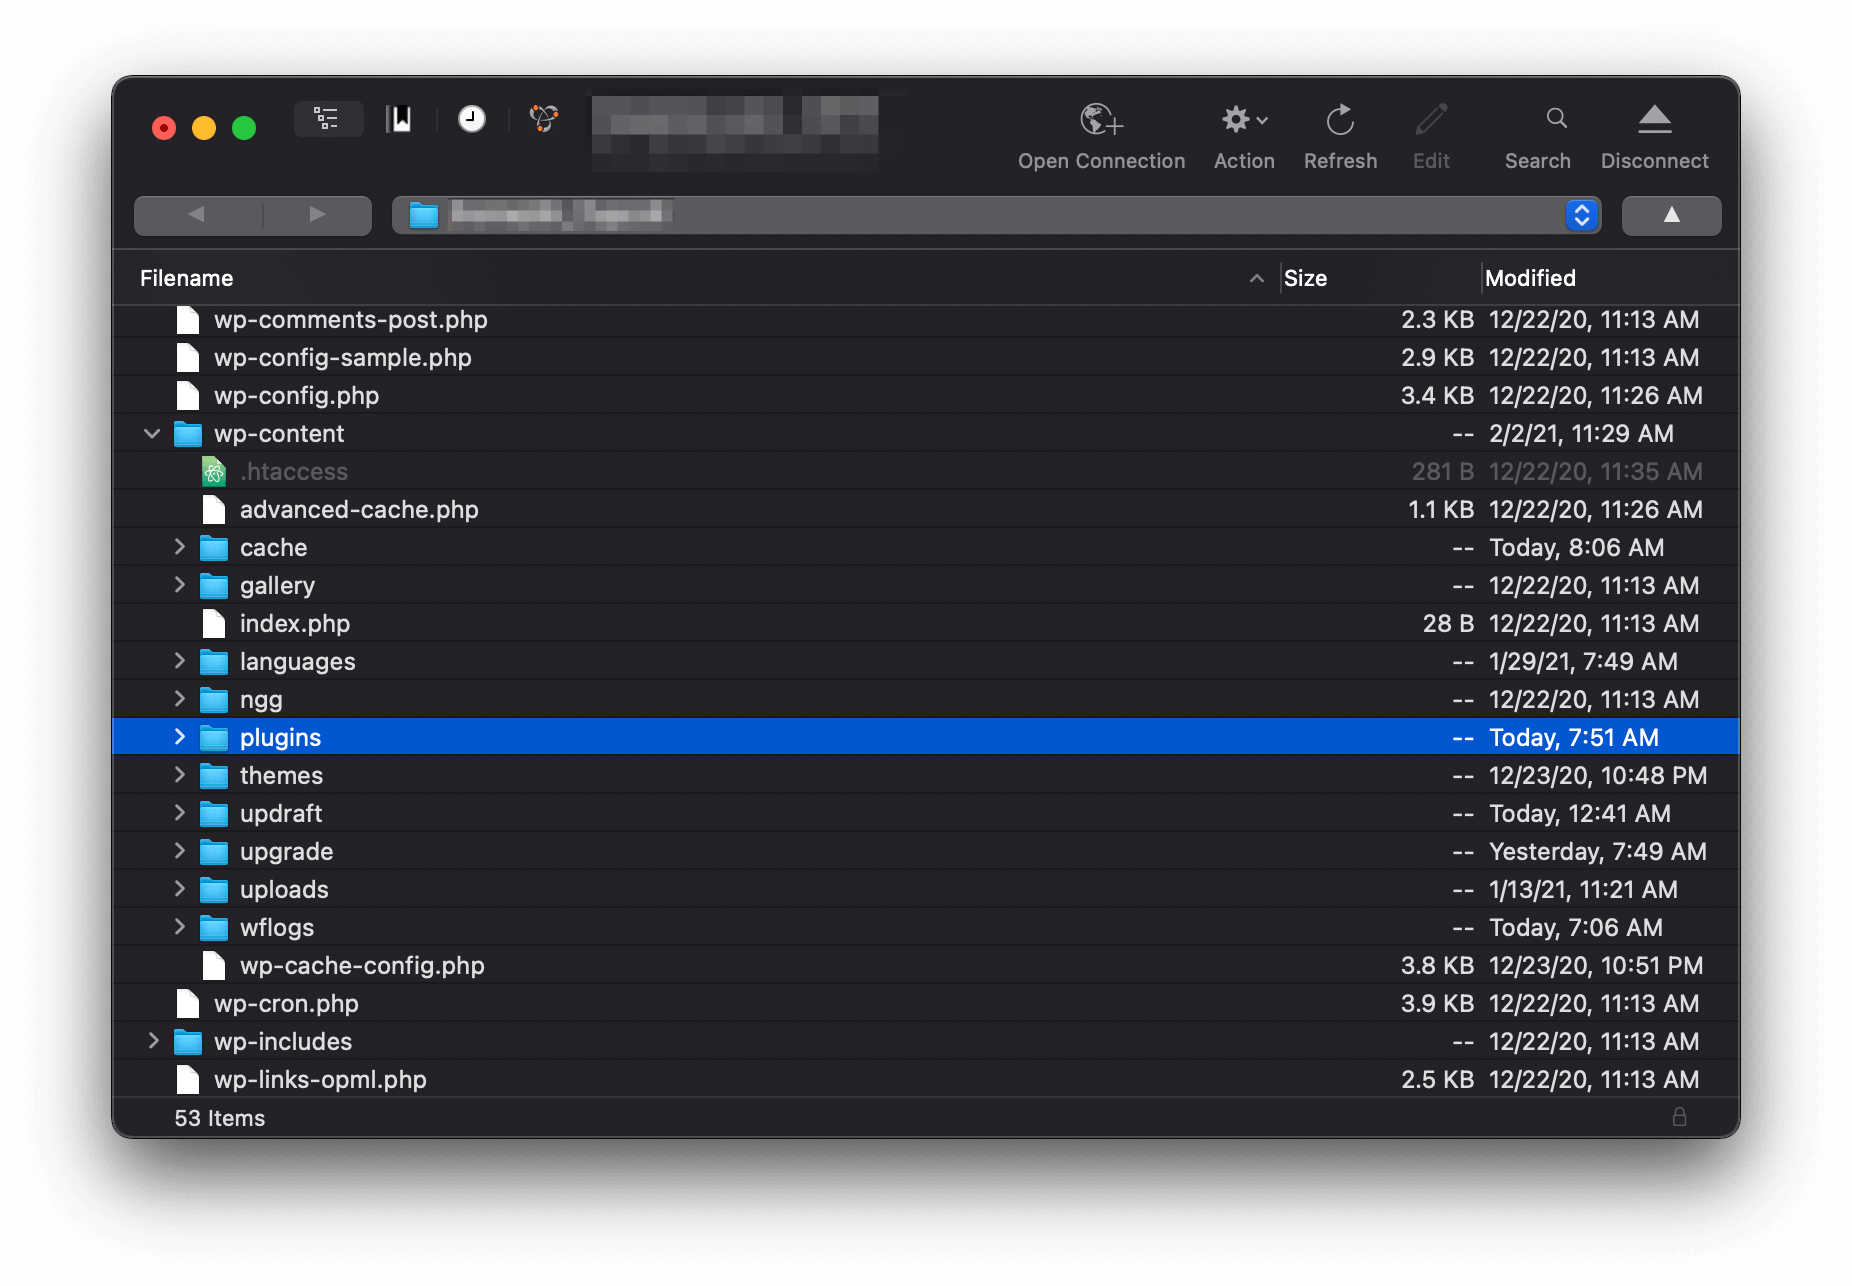
We can quickly check whether there’s an issue here by renaming the folder to something other than plugins:
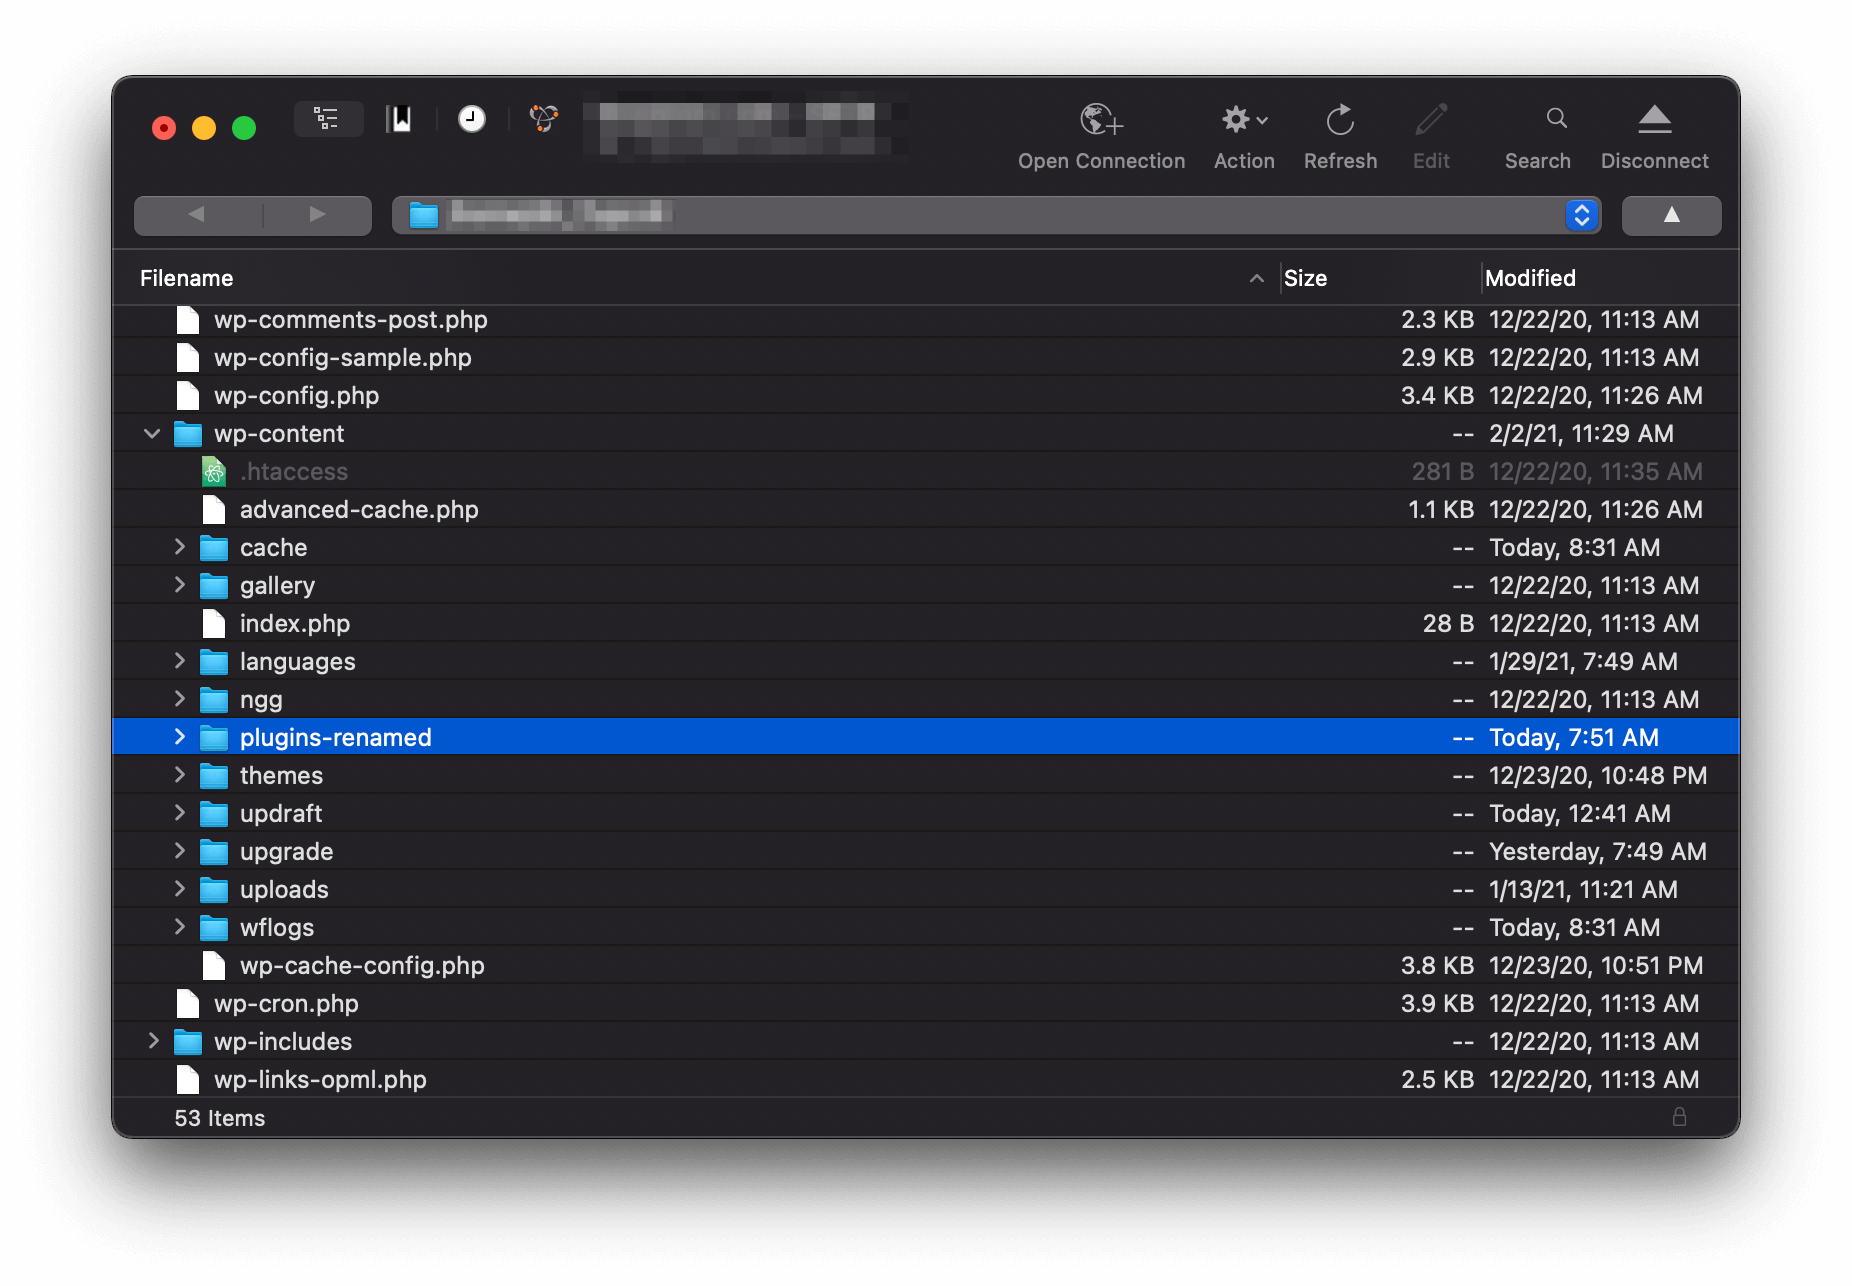
Once you’ve done this, check your site for the error. If it’s gone, the fault lies with one plugin. To continue, rename your plugins folder, and open it up. Inside are directories of all your installed plugins:
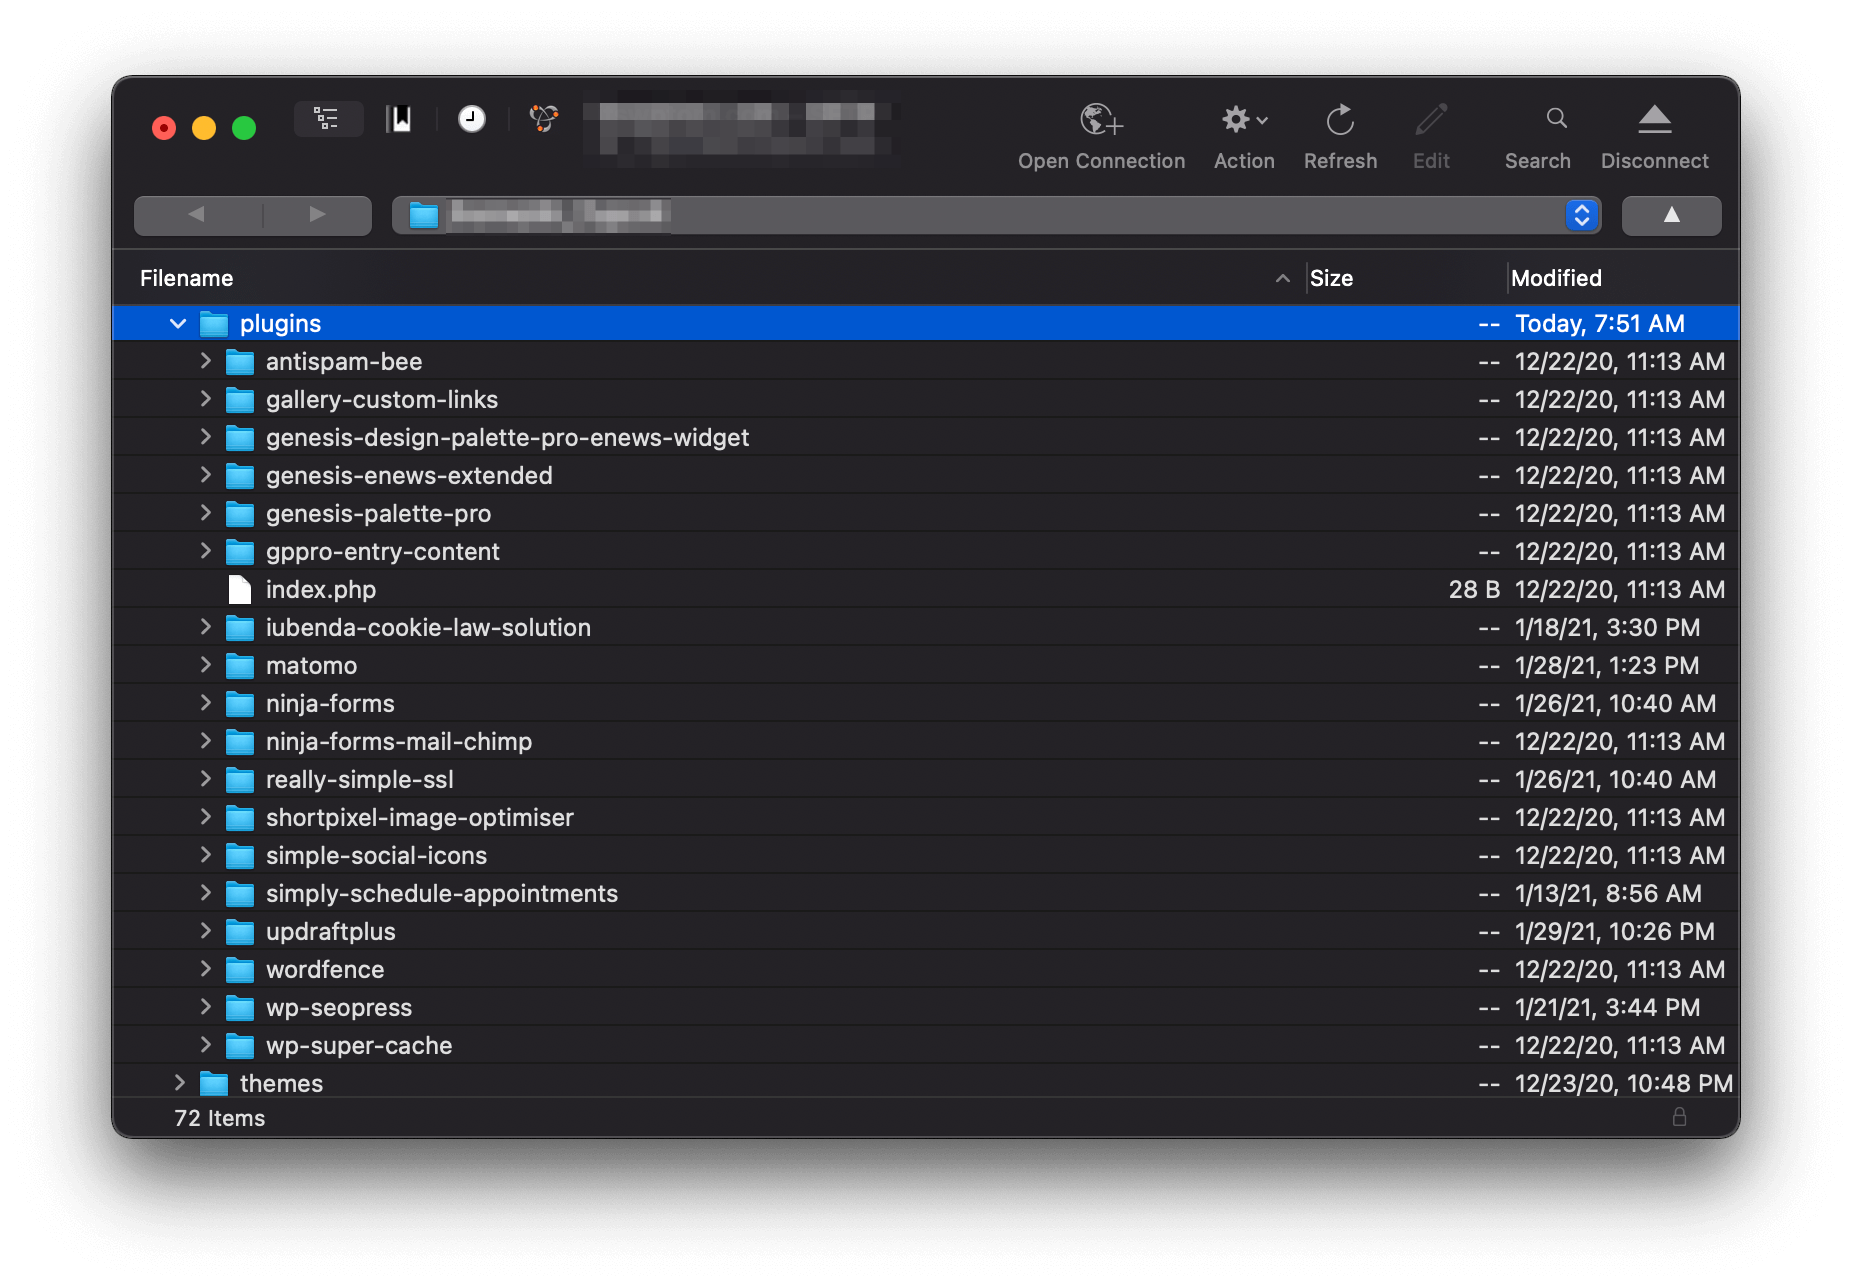
From here, you’ll need to rename each plugin folder in turn and check for the error on your site.
Once you’ve found the offending plugin, you’ll have a decision to make. You could remove it all together, find an alternative, or contact the developer for a fix.
However, if there is no change to your site, it may be a theme that’s causing the trouble.
5. Activate a Default Theme
Much like your plugins, a recent theme update could have taken your site down. Fortunately, testing for this is much the same process as your plugins. To recap:
- Find the wp-content/themes folder.
- Rename it, and check the front end of your site.
- If the error is gone, rename the themes folder, and go through each individual theme until you find the culprit.
Again, if your theme is central to your site and workflow, you may want to reach out to the developer for a fix. However, finding another suitable theme is likely your better option.
Finally, if the error remains, rename your themes folder and move onto other steps.
6. Generate a New .htaccess File
Before we move away from SFTP, there’s one more step we can try to get your site back up and running. Your .htaccess file is an Apache server configuration file, and it could be the cause of your issues.
To find out, head to your site’s root directory through SFTP. Once you’re here, look for the .htaccess file. If you can’t find it, it’s either a hidden file, or doesn’t exist due to your host’s server (usually Nginx). If it’s the latter, you can move onto other steps.
However, once you’ve found it, right-click and rename it – .htaccess-backup is perfect. Next, right-click and download the file to your computer.
You’ll now want to open the file in your text editor, clear out the contents, and add the following code:
#BEGIN WordPress
RewriteEngine On
RewriteBase /
RewriteRule ^index\.php$ - [L]
RewriteCond %{REQUEST_FILENAME} !-f
RewriteCOnd %{REQUEST_FILENAME} !-d
RewriteRule . /index.php [L]
#END WordPress
This is a default .htaccess file, and once you’ve finished, save your changes and upload it to your server.
Once again, check your site and move on if you still experience the error.
7. Make Sure Your User Role and Table Prefix Is Correct
The final step moves away from SFTP and uses a tool to access your WordPress database, such as phpMyAdmin. The database contains practically everything on your WordPress site, including your user role. If it’s been changed from an Administrator role, this can cause you to lose access to certain parts of your site.
Your hosting control panel should give you access to a database tool, so this is the place to head to. There should be a link to follow, although its location depends on your hosting provider:
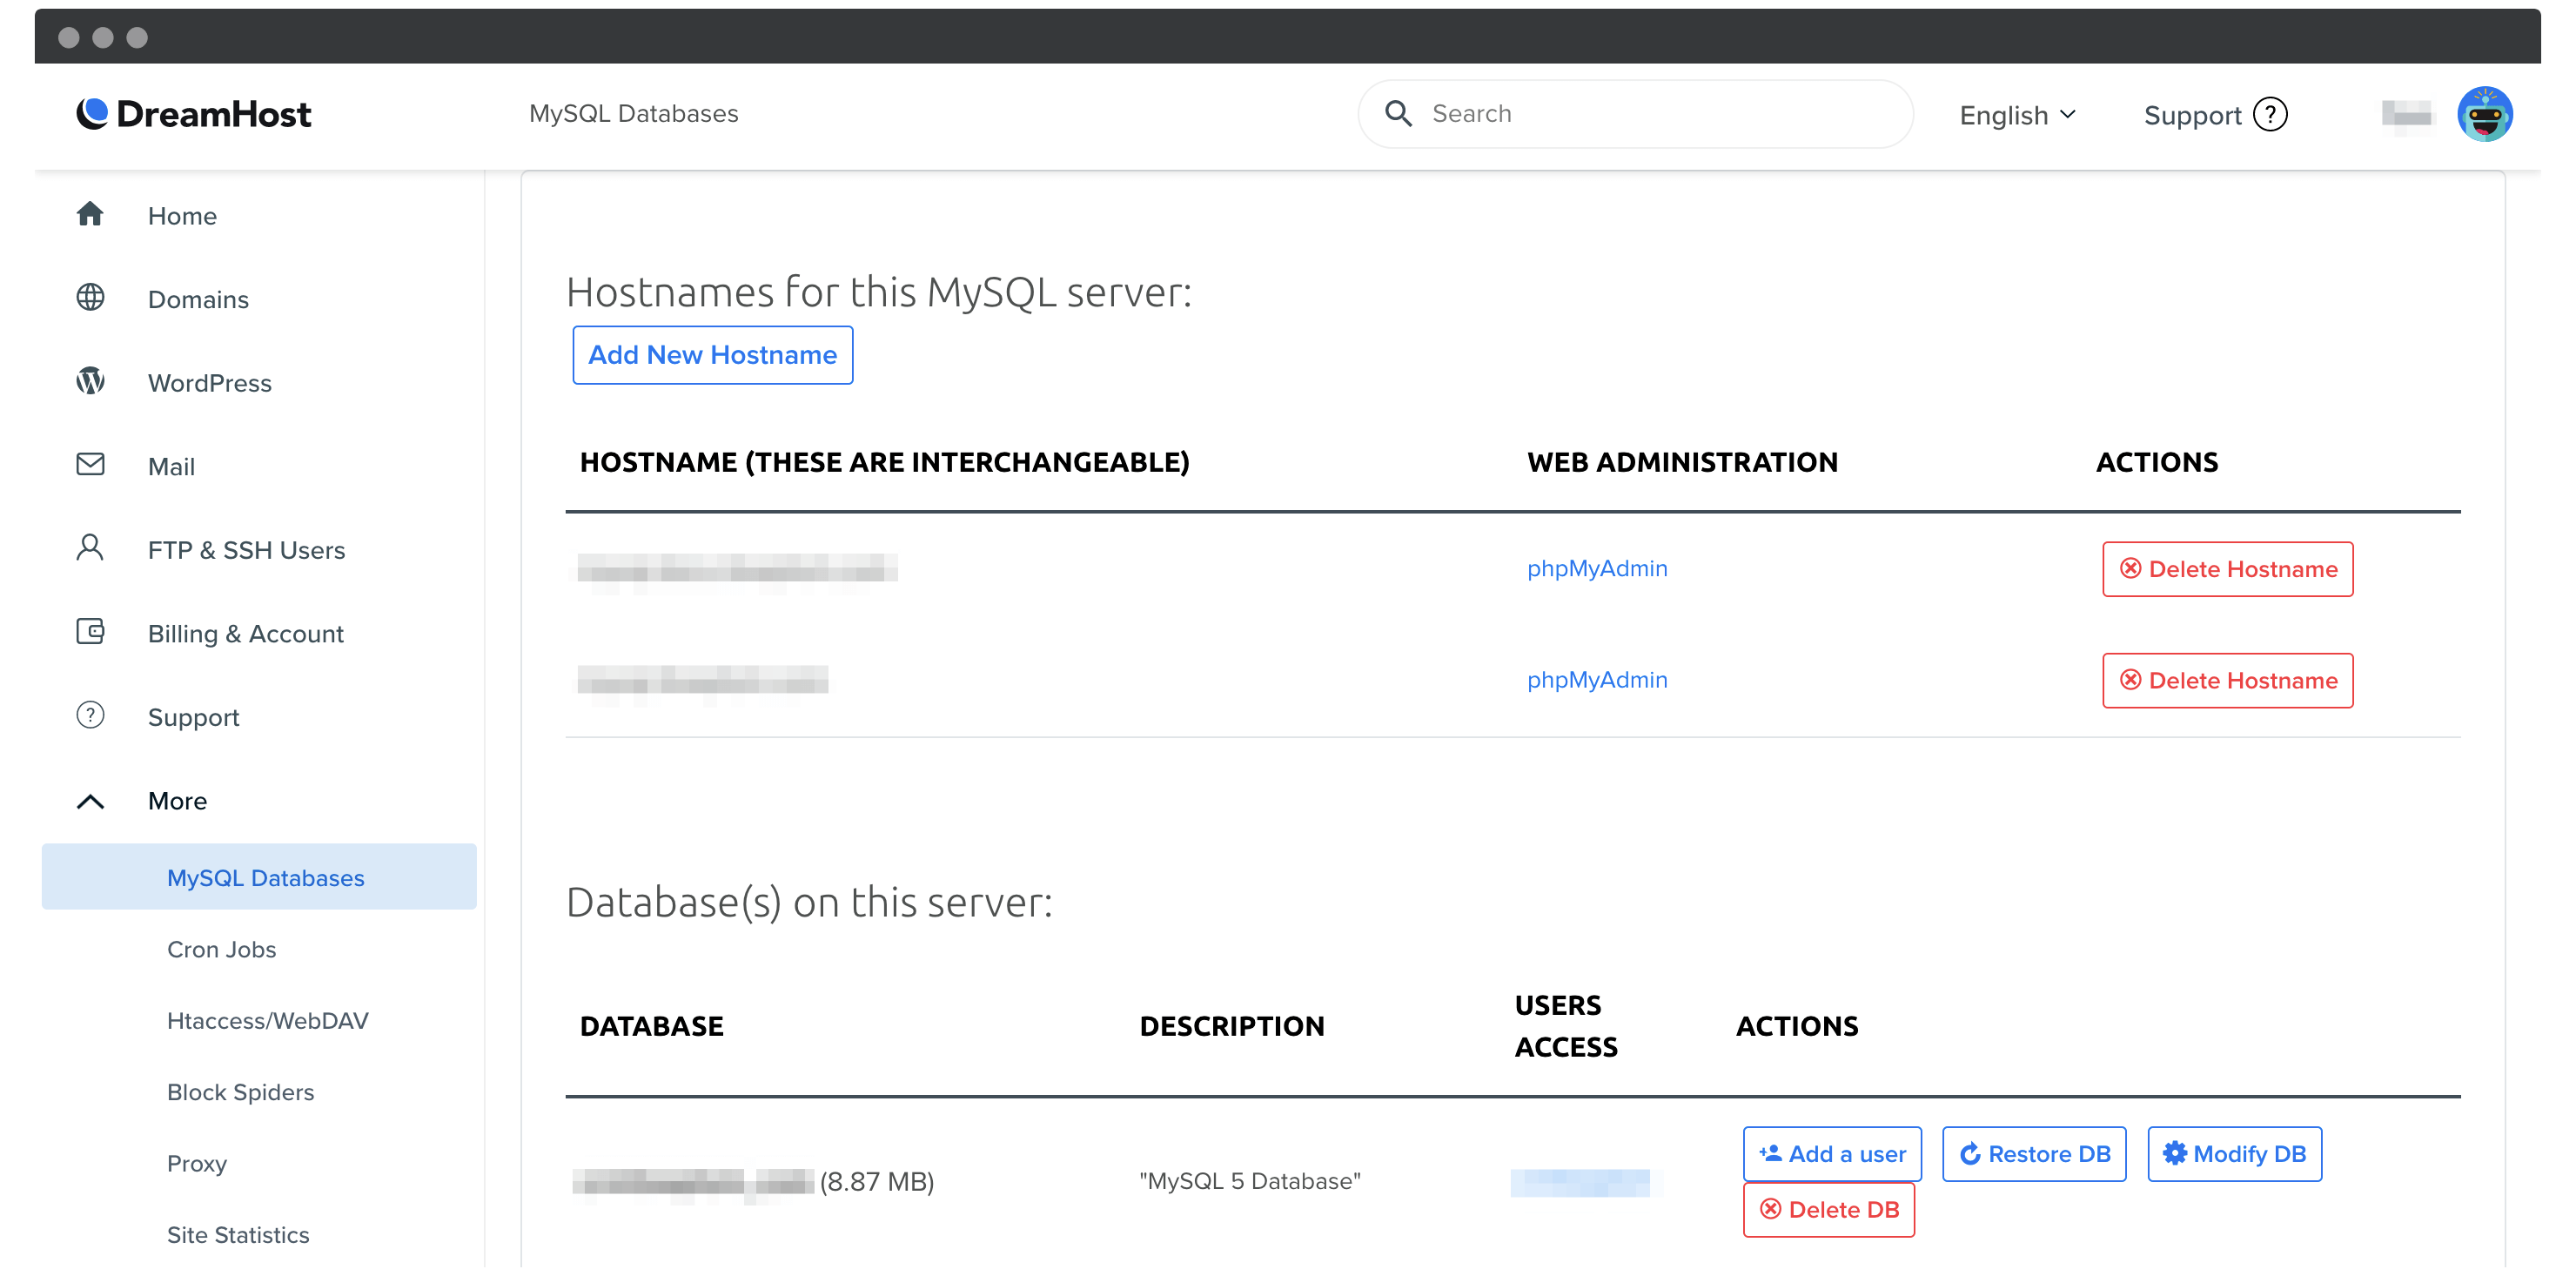
Regardless, once you’re in, look for your database. The name should match the one within your control panel. Next, take a look at the ‘tables’ – i.e. the various entries within your database. They should all have the same prefix:

In step three, we noted down the $table_prefix value. If yours differs within phpMyAdmin, you’ll want to go back to your wp-config.php file, change the value, and check your site before carrying on.
To continue, click the wp_users table, find your username and ID in the right-hand list, and note them down:
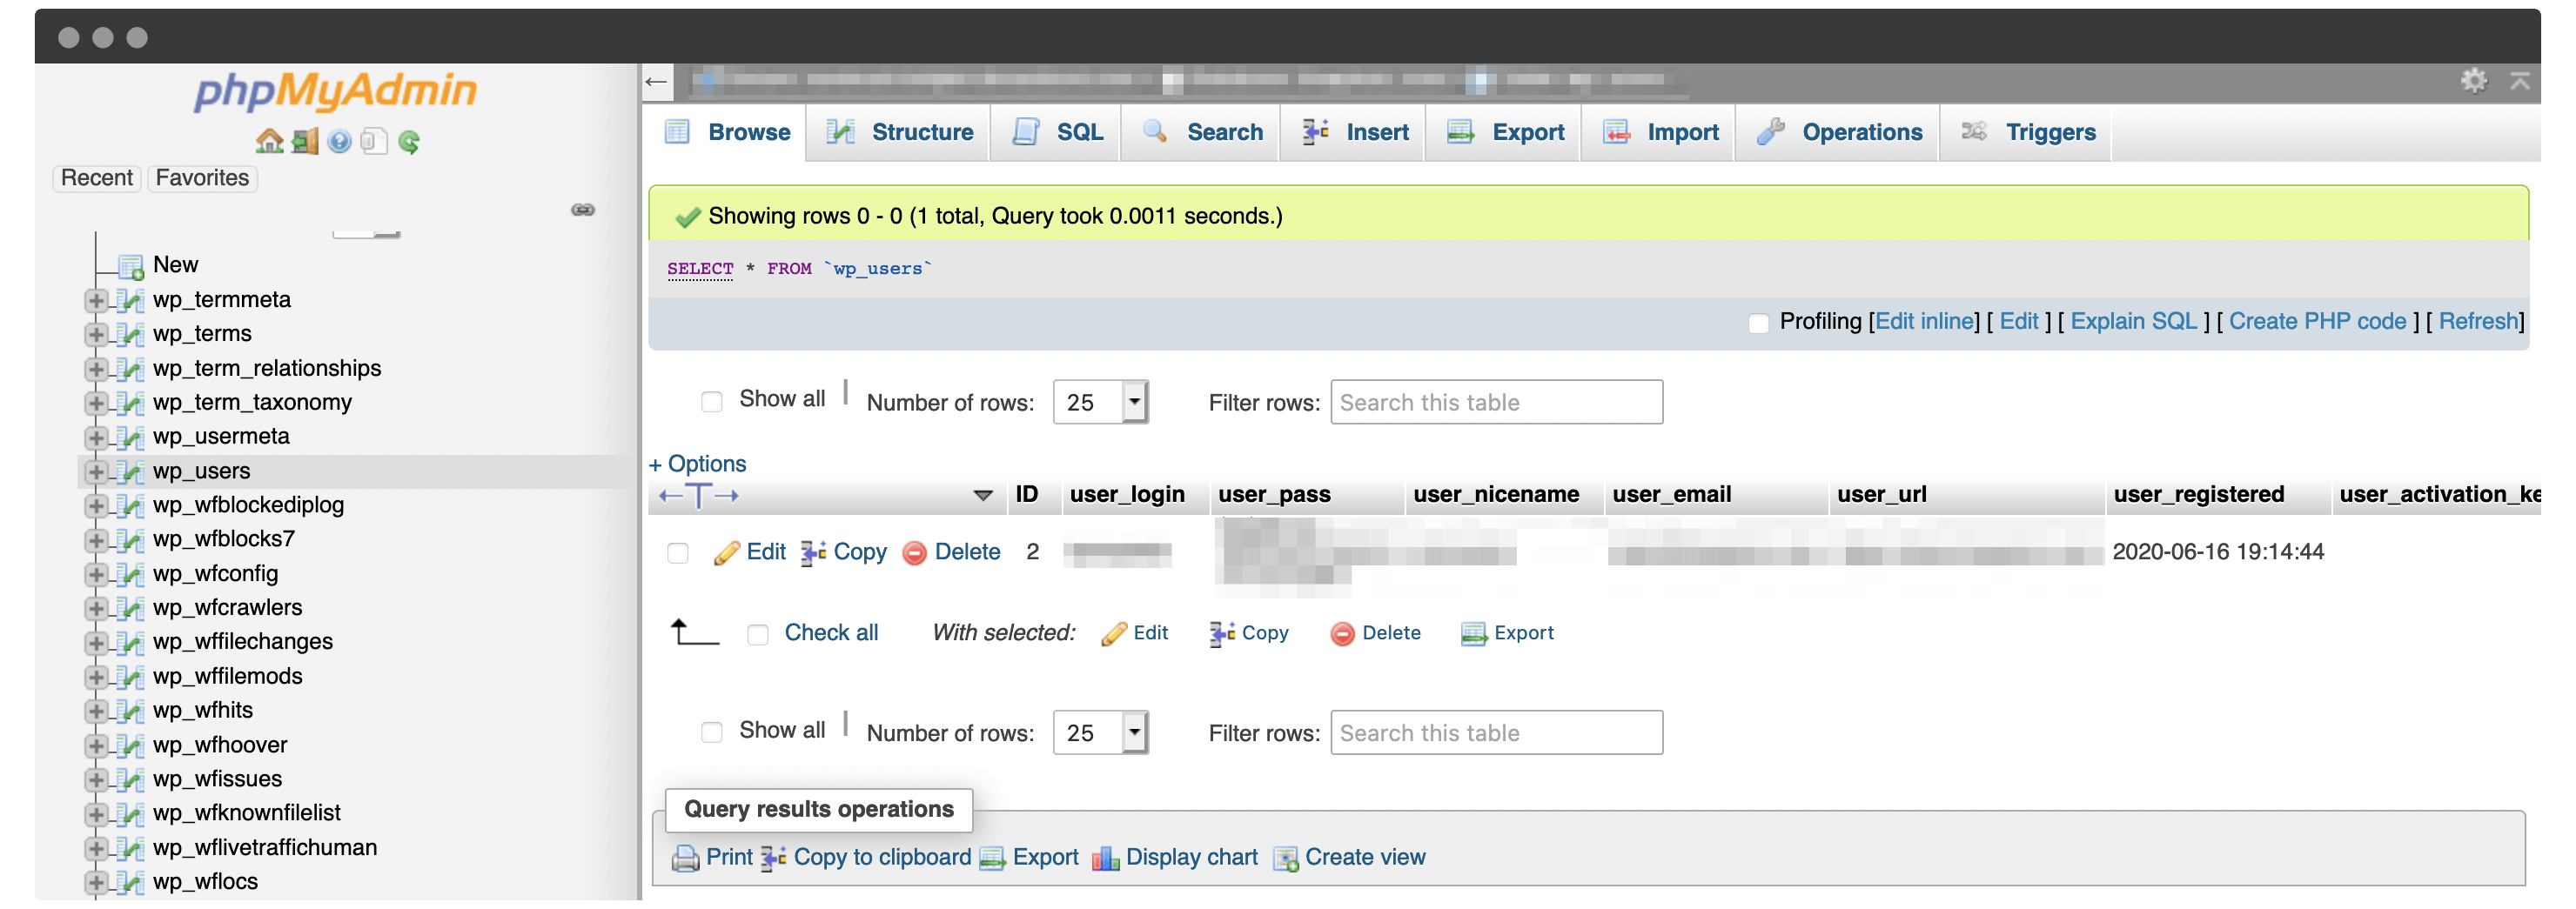
Next, navigate to the wp_usermeta table and look at the wp_capabilities row. Your user role will be displayed in the meta_value field:

If this says anything other than administrator, you can click the Edit link and change the wording, being careful not to amend any of the surrounding text.
Finally, check your site once more to see if the error has gone.
The Next Steps If You Still Can’t Resolve the Sorry You Are Not Allowed to Access This Page Error
If you’re still struggling to resolve this issues, there are a few other steps you can take. However, each will depend on how the error affects your site, the access you have, and the access your host offers you.
In a nutshell, here are three more methods to resolve the error:
- Restore your site from a recent backup. This is going to be difficult if you don’t have dashboard access to your site. However, you may have a server backup available, carried out by your host. Our advice is to check with them and find out.
- Upgrade your server’s PHP version. A recent change could have affected you, although unless you’ve done this yourself, it’s unlikely. However, your host may have upgraded your PHP version.
- Reset your entire WordPress site. It’s an absolute last resort, but resetting your entire WordPress site using a tool such as WP Reset is an option. However, we’d advise you to steer clear of this opotion for all but the newest of sites.
The common denominator here is to contact your host, as they will likely be able to help you further. Even if you’re at a point where a reset seems to be a good idea, contacting support is sensible before pulling the trigger.
In Summary
WordPress errors never crop up at a good time. Usually you’ll lose access to both the back end and front end. However, this isn’t the case with the Sorry You Are Not Allowed to Access This Page error. It’s a user permissions notice rather than an indication of site failure.
This post has looked at seven ways to fix the Sorry You Are Not Allowed to Access This Page error. Quite often, checking your error log for clues will point you in the right direction. From there, disabling and re-enabling your plugins and themes, then checking your user permissions should give you access again.
Have you ever come across the Sorry You Are Not Allowed to Access This Page error, and if so, how did you fare? Let us know in the comments section below!


To whom it may concerns :
I had the same problem when relocating my prod env on my dev (running on Local by FlyWheel).
First I took the “preferred environment” (and the problem arose).
Had to switch from nginx server to apache (as on production), to get it right.
Hope this helps