What would the web be with images? Within a few decades, the internet has gone from a digital dot matrix printer to a dynamic server of multimedia, including images, video, animations, and more. When it comes to digital stills though, there can be confusion over JPEG vs PNG, specifically when to use each one.
If you looked at a JPEG image alongside the same but as a PNG, you would likely see no difference. This is the ideal, as both image formats aim to reproduce the best image possible for the web. Though, there are different use cases and optimization techniques you need to be mindful of.
In this article, we’re going to compare JPEG vs PNG, and tell you when you should use each image format. First though, let’s introduce you to each file type.
The Difference Between JPEG vs PNG
On the surface (in a literal sense), there is no difference between JPEG and PNG. In other words, if we put two images up and asked you to choose which one was JPEG and which was PNG, you wouldn’t be able to tell most of the time. For example, take the following image:
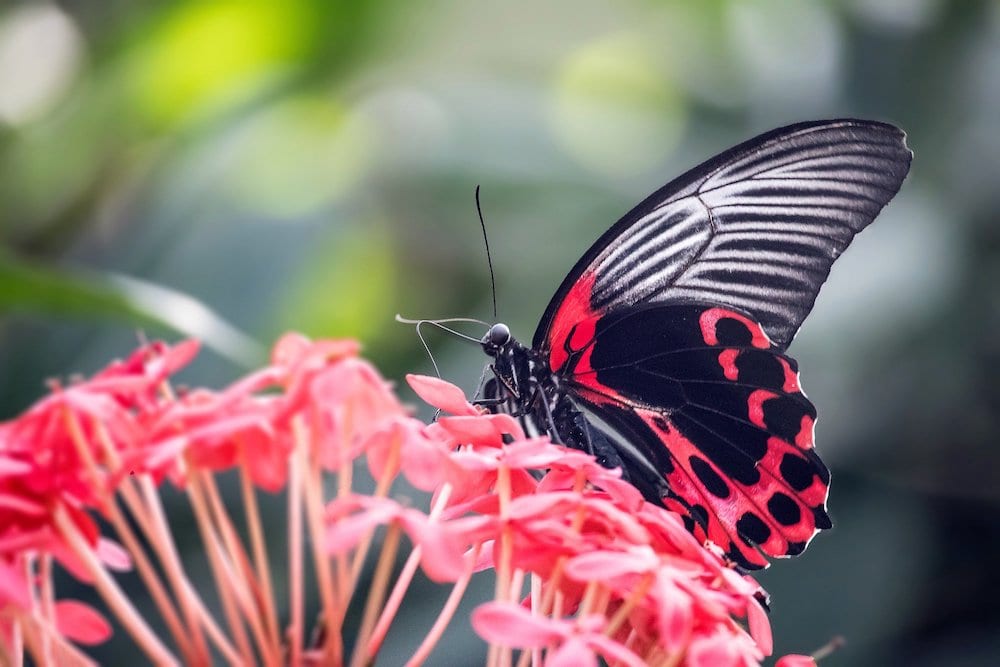
Are you able to make a decision about whether this Scarlet Mormon butterfly is a JPEG or PNG image? Of course, without a frame of reference you can’t make a comparison:
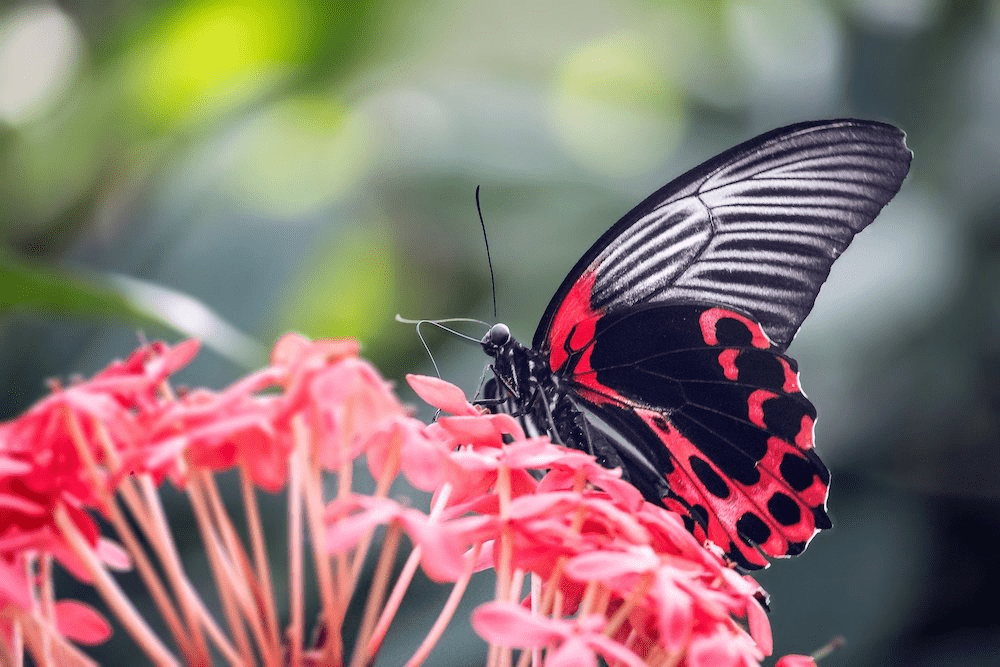
There are definite differences, although it’s not going to make a huge deal of difference in this case. While you’re trying to decide (without peeking at your browser’s developer tools), there are some technical details we can share:
- The Joint Photographic Experts Group (JPEG) file format offers lossy compression of digital images. This means image quality is noticeable if the balance between this and file size swings too far. JPEGs are ‘flat’ files. In other words, they can’t display transparency within a file. While you can adjust the compression level, even at its best settings a JPEG will be an 8-bit file, which impacts dynamic range. What’s more, a JPEG often includes a color profile, which tells monitors how to display the colors within.
- In contrast, Portable Network Graphics (PNG) images are web-ready files. It’s a more dynamic format than JPEG, with the ability to output 24-bit files. It’s also a ‘lossless’ format, which means you can duplicate it without degrading image quality. Though, you’re not able to adjust compression for PNG files, and there is no color profile. Despite this, a PNG is perfect for web, based on its technical specifications.
It seems clear cut – PNGs suit the web, and JPEGs don’t. Well, this isn’t the full story. Each file type is great for certain applications. Next, we’ll discuss them.
JPEG vs PNG: When You Should Use Each One
The web gets the best out of both JPEGs and PNGs. In fact, they dovetail in a nice way without much cross-over. As a handy soundbite, here is when you should use JPEG vs PNG:
If you want to display a photograph, use JPEG. For any other file – especially digital graphics – use PNG.
Though, this advice isn’t true for every situation (although it’s relevant for almost every case). For example, if you combine digital drawings with stock images, both JPEG and PNG will technically be incorrect to use. Later on, you’ll have more knowledge to make a right decision, although there are some other pointers to give you.
For example, if you envisage copying images, use a different file format than JPEG. This is because lossy compression formats only reconstruct an approximate version of the file. In contrast, PNG is a 1:1 reproduction because it offers lossless compression.
Also, if you want to resize your image once you save it, use JPEG as this handles scaling well. PNGs use a different encoding structure, which degrades once you change the dimensions (or other technical attributes).
Other Image Formats You Should Know About
Of course, JPEG vs PNG isn’t the only image file format comparison to consider. There are lots of other file types that compete for attention, and have other use cases:
- Graphical Interface Format (GIF). If you post a meme or reaction video to Twitter that animates, it’s a GIF. In fact, PNG looked to replace GIF files in its original specification, and they both offer transparency layers.
- Tagged Image File Format (TIFF). This raster-based file format is great for printing due to its support for CMYK color spaces.
- Raw image format (RAW). You’ll only use this if you’re a photographer, and it’s exclusive to the camera you use. While you can view RAW files on your computer, you need dedicated software to view it. The file sizes are astronomical, because the data is complete. In fact, RAW formats aren’t images, but data that when encoded represents the image.
- High Efficiency Image File (HEIF). This is the primary file format of iOS devices. It offers better compression and file sizes than JPEG, and can handle lots of different multimedia formats.
While each of these image files will see use on the web (with the exception of RAW files with regard to display), JPEG vs PNG still dominates. They both have specific use cases for which the pros and cons balance well.
How to Prepare Your Images For Upload (In 3 Ways)
Despite JPEG vs PNG coming out as a draw with regards to final display quality, you have to handle each format in a different way to get the best out of it. There are three areas you can affect the file size, quality, and overall preparation of your images:
- Make sure the dimensions account for the relevant use cases you’ll come up against.
- Choose a resolution for your image that is suitable for the web.
- Use ‘tasteful’ compression to further reduce the file size of your images without impacting quality too much.
As you’d expect, there’s a fine balance here. Let’s begin with the dimensions of your image.
1. Set Your Dimensions
The dimensions of an image are more important for the end user than any other point in the chain. This is because the browser has to load the image, and a large file will erode the User Experience (UX). Though, this isn’t the only consideration. Of course, quality is key too. If you decide to make an image tiny in size, it’s going to affect the final image quality (more so for JPEGs than PNGs).
The answer is to hit the sweet spot across a few areas, starting with your image dimensions. As a broad rule, you want to make your images large enough so they can convey the details you need. There’s a point of overkill somewhere that’s different depending on the target platform and the image itself.
Modern crop sensor and full-frame digital cameras can produce images with default dimensions of around 6,000px x 3,000px (although there are wild differences between cameras). In contrast, images with the ‘long edge’ at around 2,000 pixels are common on social media. Bear in mind that this is for display at the full viewport of a device.
For blog images, this 2,000 pixel rule of thumb could even be as low as 1,000 pixels. This also takes into account high-definition or ‘Retina’ images. They often need double the dimensions to display as sharp on high-definition screens. In fact, the resolution is a good place to head to next.
2. Set the Right Resolution
One of the basic elements of digital screens is pixels. These tiny dots make up the entire display, although pixels aren’t a uniform size. Because of this, we also have to consider resolution when preparing our JPEG and PNG images.
We use Pixels Per Inch (PPI) to discuss how many pixels can fit onto a screen. You can also express this in centimeters, or as ‘dots’. The latter is for physical print formats, and graphic design circles use DPI often. As such, you’ll hear it used in an interchangeable way, although PPI is the correct term.
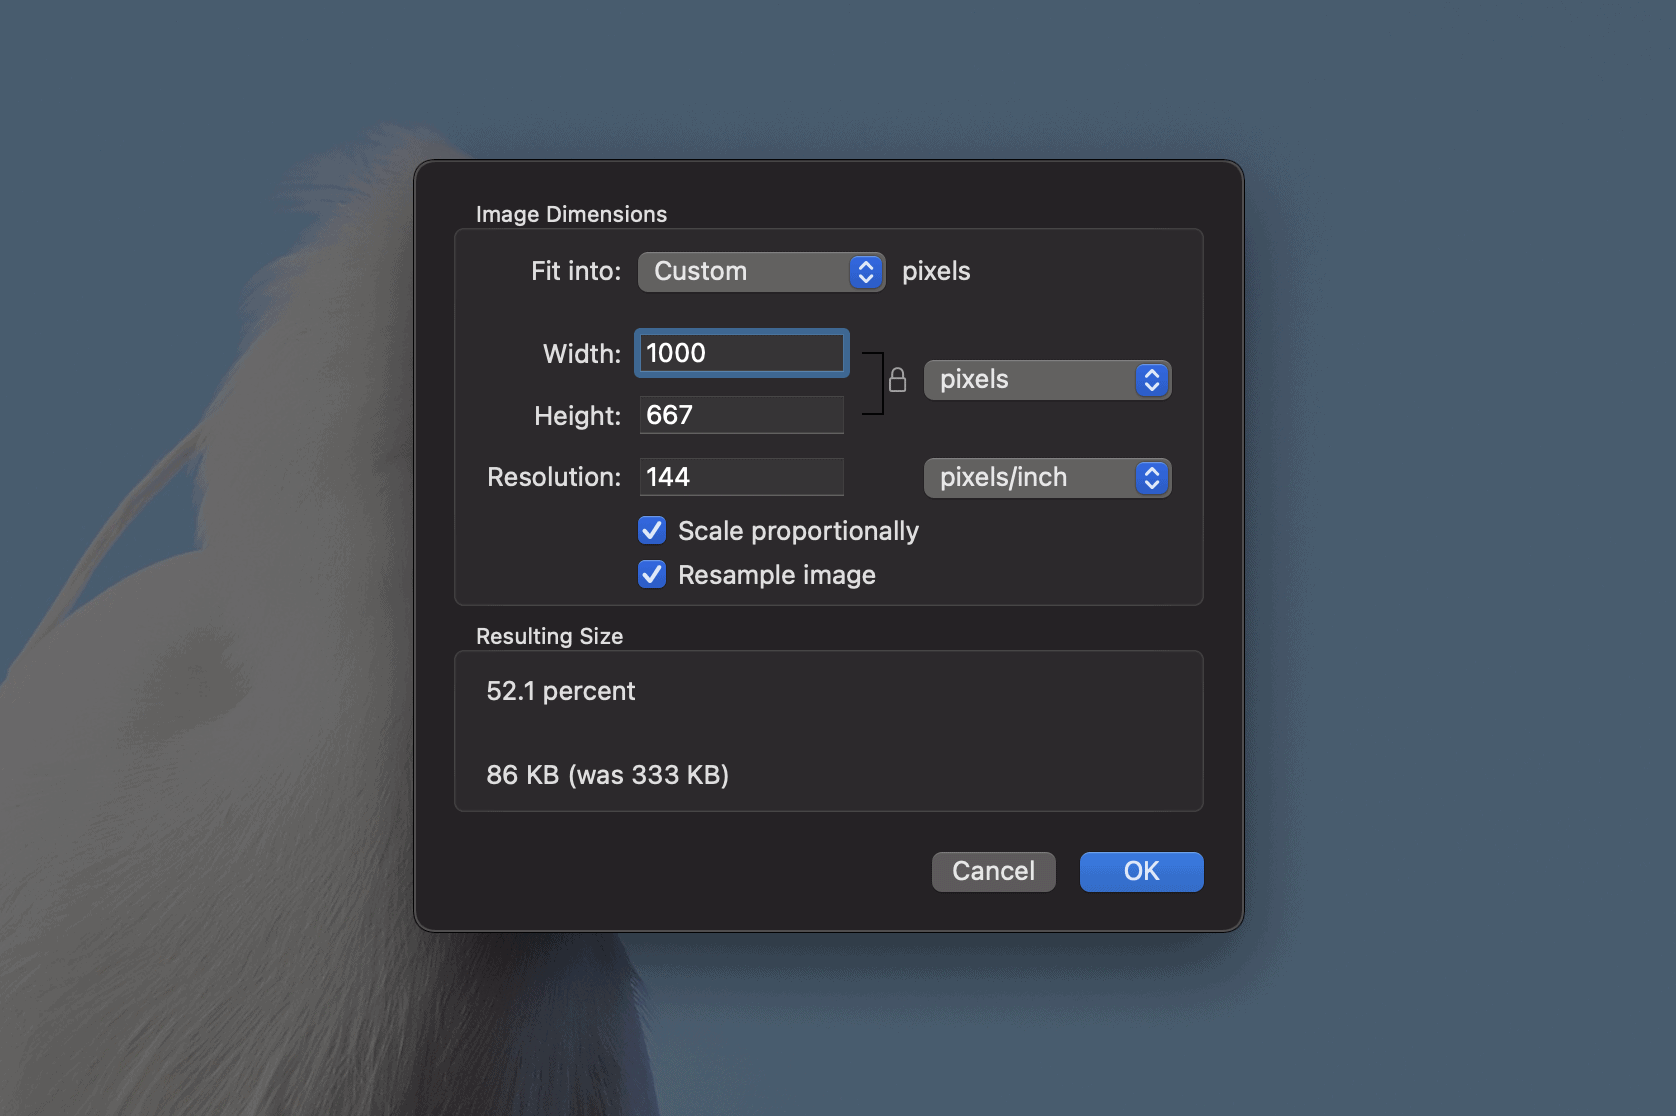
While the PNG image specification uses 72 PPI as its optimal design resolution, this wouldn’t take modern high-definition screens into account. While you could double the dimensions of an image in order to render it sharp on all screens, you can also do the same with the resolution too. For example, take this screenshot of the macOS Big Sur desktop:

It’s a PNG, with 1,000 pixels on the long edge (the top and bottom in this case). Though, it uses 144 PPI – although there’s some upload ‘magic’ that converts the resolution to 72 PPI on upload to WordPress.
Both PNG and JPEG images can use much higher PPIs too – print-ready resolutions are around 300 DPI/PPI. What’s more, lots of images from stock photo sites such as Pixabay will download using 300 PPI:

As such, reducing this will better prepare your images for the web and its various displays.
3. Optimize Your Images Using Compression
We don’t have to tell you much about image optimization. It’s a topic you can find elsewhere on the blog, and almost all WordPress users will know to optimize images either before or during the upload process.
The general concept is that you apply extra compression to images, often in a lossy way. This does affect image quality, and it’s noticeable if you make sweeping changes to the dimensions and resolution before applying heavy lossy compression.

These artifacts have to be minimal in order to present images well. Because of this, there are lots of tools available to do the job. The most accessible is TinyPNG, although it also compresses JPEGs too:
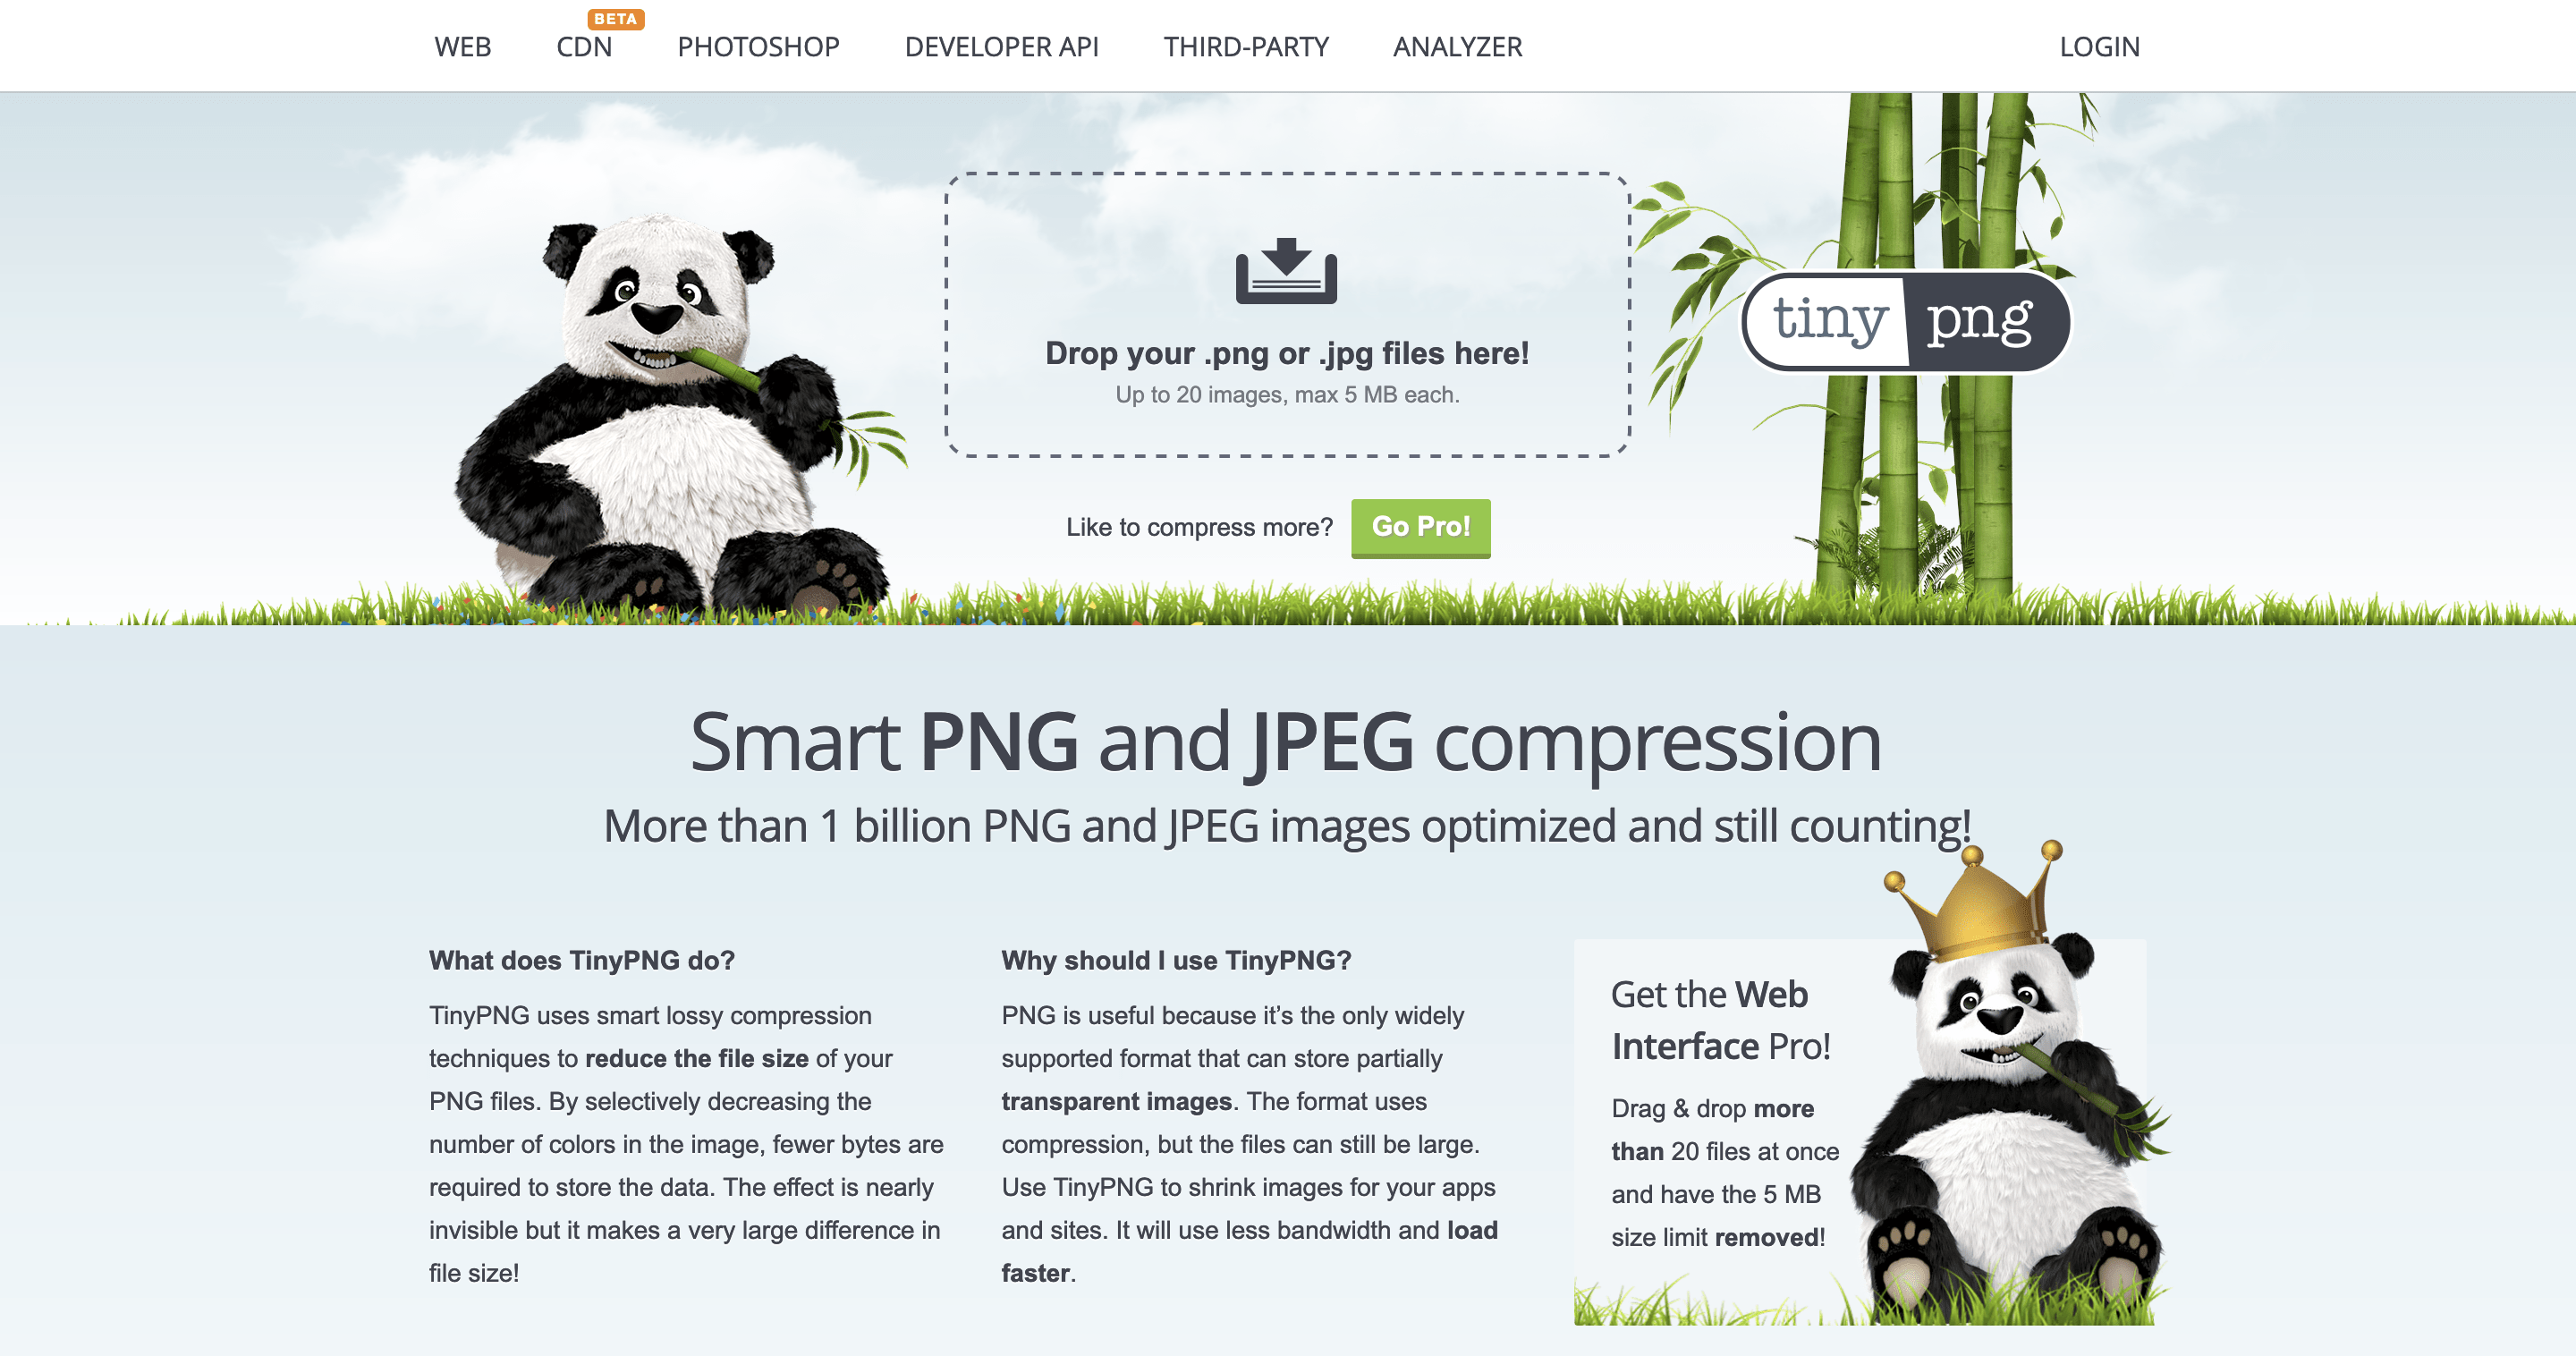
Though, the compression it applies is gentle on some images, which might not bring the file size down enough. A service such as ShortPixel has an aggressive lossy compression format available, while its Glossy compression does an admirable job compared to TinyPNG.
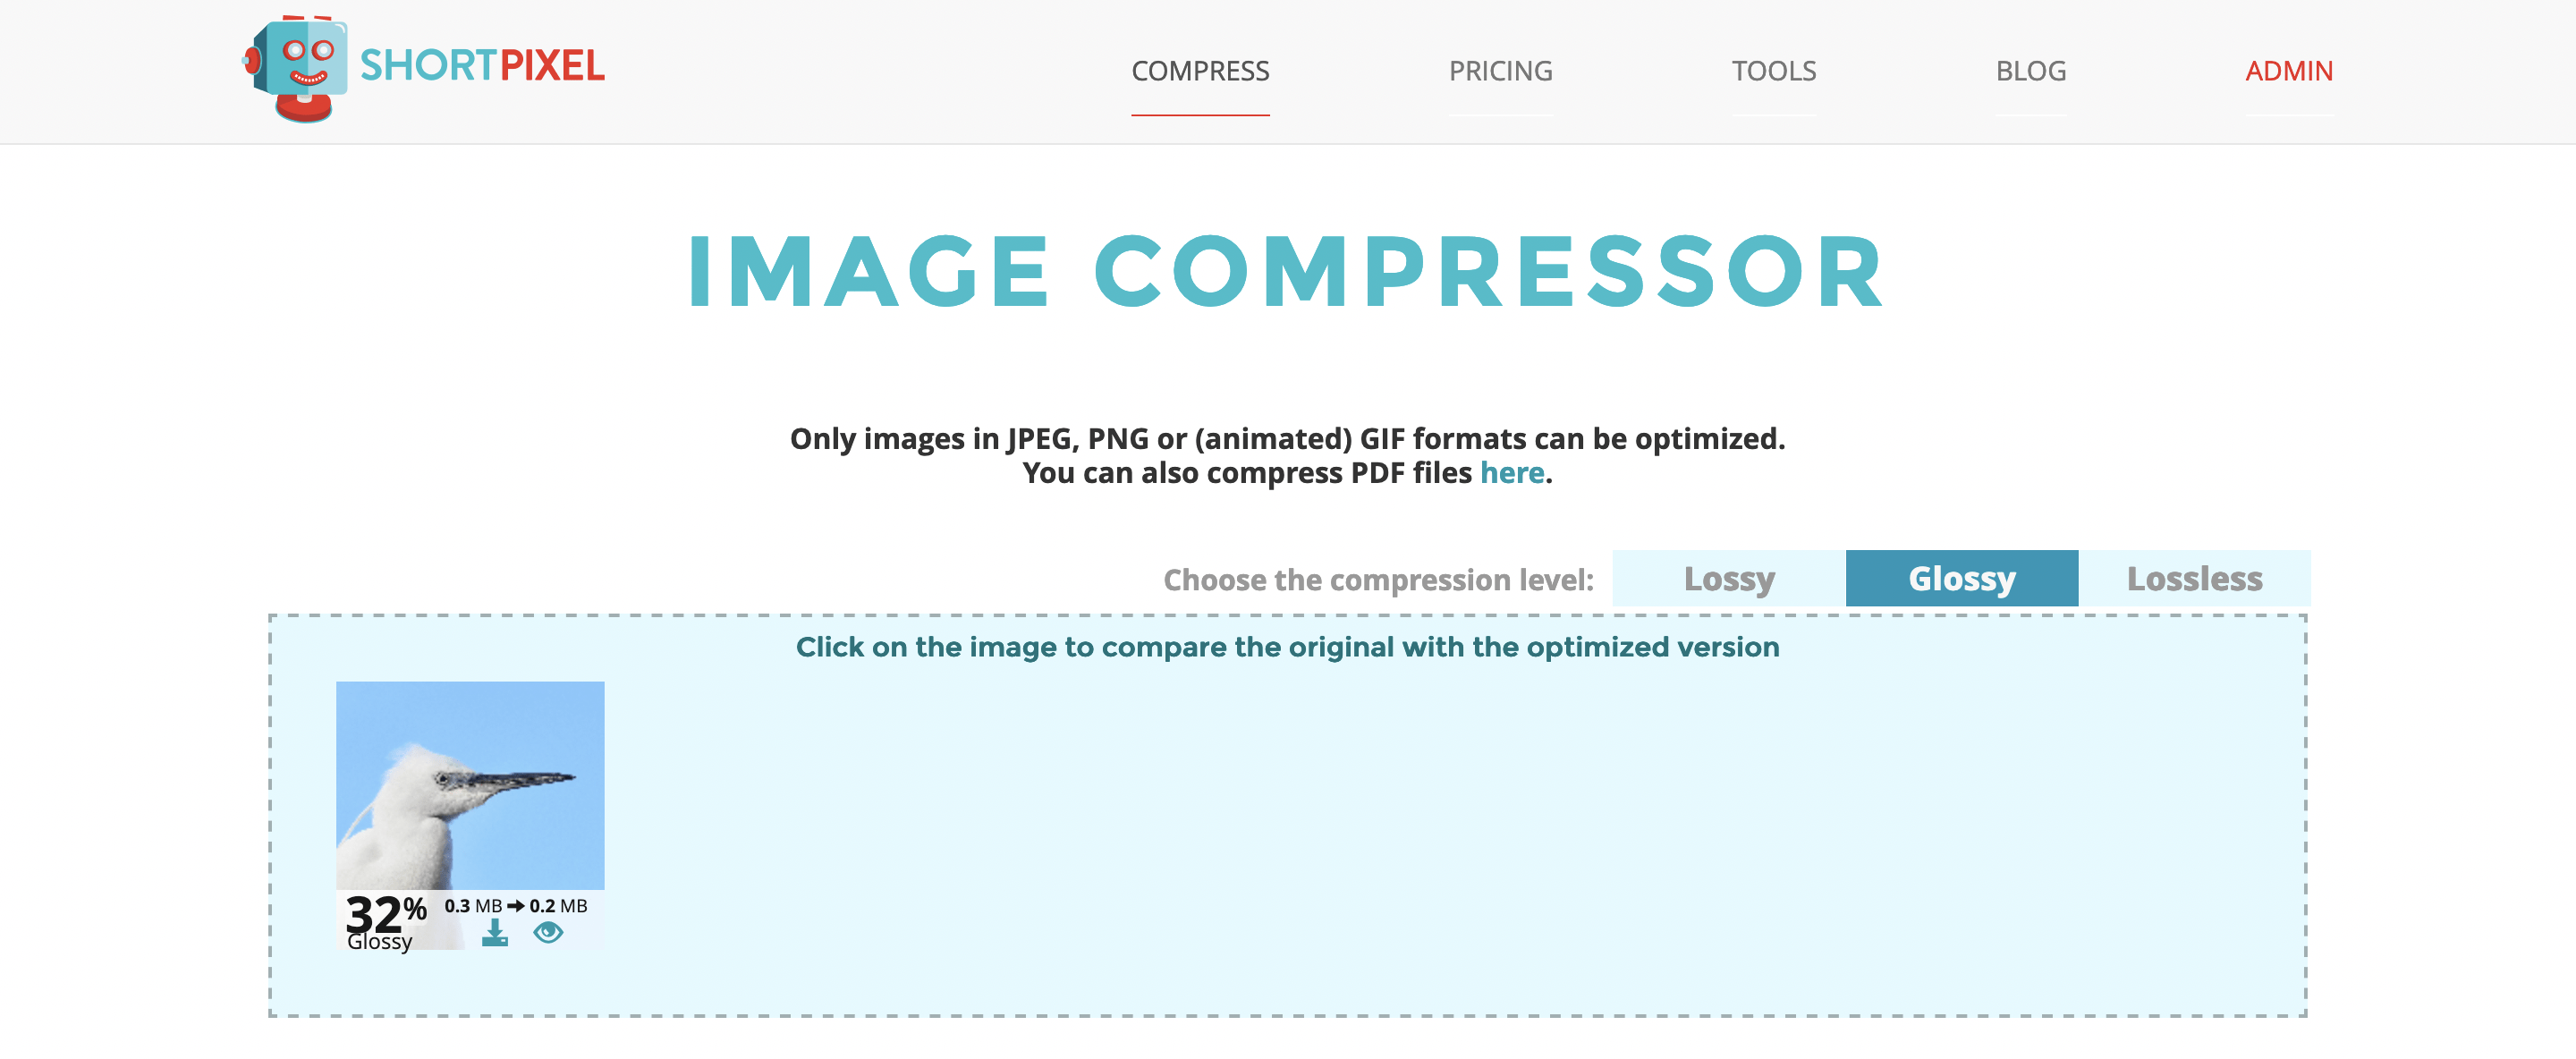
The takeaway here is that you have to balance the level of compression with both the file size, and all of the other elements of the image. In the next section, we’ll discuss the best approach to take.
JPEG vs PNG: How to Make the Most of Each Format
Despite the differences in file formats, the nature of browsing the web means you can boil down preparing your images to the following:
- Use dimensions between 1,000–2,048 pixels on the long edge.
- Set a resolution of 144 PPI for all of your images, to make sure they display crisp and clear on all screens.
- Apply subtle compression through image optimization to help bring the file size down. Taking everything into account, most images will be around 100–200kb in size.
There’s a little more here based on specific file formats:
- For PNG files, reducing the dimensions could degrade the image quality too much. The idea here is to keep the resolution as high as possible to mitigate those factors.
- JPEG files don’t stand up to copying, as each duplication is more degraded than the last. If you can control where the JPEG comes from (for example, if you took the photograph), create a JPEG from a TIFF or RAW file to retain the quality within the image.
- In our experience, JPEGs don’t take compression as well as other file formats. This means it’s important to prepare and optimize those images before you get the compression stage.
By now, you should have a solid grasp on JPEG vs PNG, when to use them, and how to prepare you files; and if you still want to know which image was JPEG from the beginning of the article, it’s the first one!
Wrapping Up
It seems as though images run the web. Because of this, we have a number of file formats to help us deliver the right quality at a respectable file size for the application. JPEG vs PNG is a common comparison because it’s not clear what either are good at, and they are two popular image formats.
In short, JPEGs are for photos, and PNGs are for graphics. To prepare your files, the main concern should be keeping image quality high rather than file size. Still, while adjustments to the resolution give you the biggest changes, this has more of an impact on the image quality. The trick is to balance dimensions, resolution, and compression to achieve the ultimate web-ready image.
Do you prepare you images for web as we’ve outlined here, or do you do something different? Let us know in the comments section below!





Leave a Reply